Showing posts with label fall. Show all posts

Friday, November 7, 2014

Paint Blowing: Autumn Trees


I found this idea floating around Pinterest, I completely remember doing this as a kid and it's a fun way to incorporate art into a child's life. When you are creating this art piece you can explain to the child how when different colors come together they create a new color!

What you will need: 
- green, red, and yellow paint
- drawing of a tree
- straws (to blow)
- water


First take your paints and mix with a small amount of water, the paint being more runny helps the paint move around the paper better.

Draw or print out a picture of a tree (with no leaves!)

splatter the paint around the page and let your little one blow through the straw, mixing the colours together and creating a fun piece of art!


We love to hear about your seasonal crafts! feel free to share with us on Facebook!

POST BY MOMMY OLIVIA

Friday, October 31, 2014

Thursday, October 30, 2014

Scarecrow Cupcakes

I have been meaning to post these sooner, but this month has been so crazy! This past Thanksgiving I made this little dudes and not only were they fun to make, but they are tasty as well! Now you can either make your favorite cake from scratch or use a box mix- which is what I had to do because I was so short on time!


What you will need:
- Shreddies Cereal (for the hats)
- Pretzel sticks (hat)
- M&M's (for eyes and nose)
- Mini Chocolate Chips (for the mouth)
- Chow Mein noodles (uncooked, for the hair)

So you bake your cupcakes as usual, then icing them with a knife. Then decorate the little faces! You can use different candies and different variations, let your imagination run free!

In need for a killer frosting recipe? Look no further- Buttercream Frosting

What you will need: 
- 1/2 cup of butter (softened)
- 1 tbsp vanilla extract
- 4 tbsp milk
- 4-6 cups of confectioners sugar (depending on the consistency you desire)

In a medium size bowl, whip together butter, vanilla and milk, until smooth, slowly add in sugar, beat until light and fluffy- don't forget to scrape the sides so it\s all combined!


POST BY MOMMY OLIVIA


Saturday, November 9, 2013

Gingerbread Latte

Here is a festive warm drink to get you in the mood for the holiday season! 


Recipe for gingerbread syrup
1 1/2 c. water
1 c. white sugar
2 tsp. ground ginger
1/4 tsp. ground cinnamon
1/4 tsp. vanilla extract

1. Combine in pan. Bring to a boil, the reduce heat and simmer 20 minutes. 

2. Pour into container and cool.

To make Latte 
1 oz gingerbread syrup
2 oz espresso or very strong coffee
1/2 c. hot, frothed milk (I make mine by pouring the milk into a tupperware, putting the lid on, and shaking it like crazy. Then I remove the lid and microwave it in intervals until it's foamed up)
Sugar to taste
1/2 tsp cinnamon

1. Combine sugar, syrup, and espresso/coffee in cup.

2. Pour in hot milk, using spoon to hold back foam.

3. Dollop foam on top, and sprinkle with cinnamon.


                     Be sure to stay tuned for another giveaway coming soon! 

By Mommy Jenn

 photo 3mommiessig_zps86cc38de.jpg

Wednesday, November 6, 2013

Apple Carrot Cake with Pumpkin Spice Cream Cheese Frosting

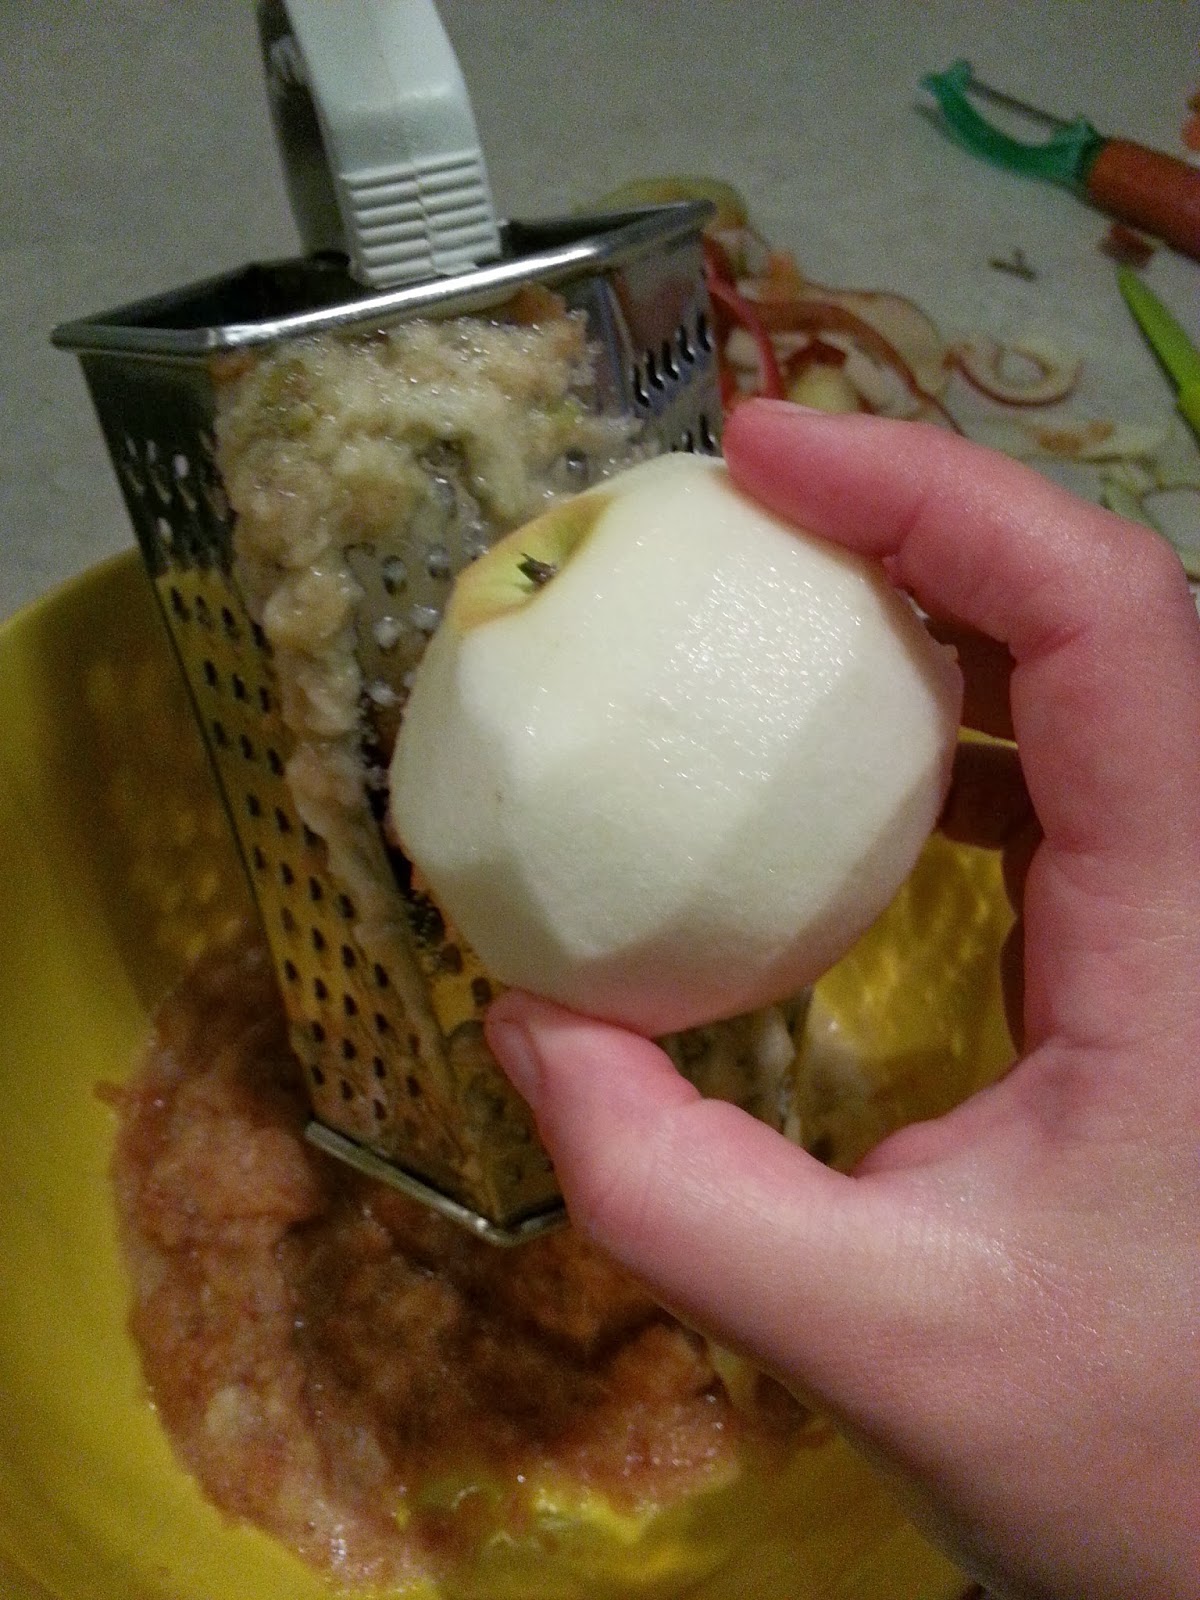
Here is a quick cake idea I had come up with. Using the idea from a pineapple dump cake recipe, I decided to give it a shot! The end result was really tasty and perfect to finish off a meal in the fall. It has the flavours of autumn in it.

First I started by grating four large peeled apples. Then I poured a carrot cake mixture on top. Just the box of mix, not the other ingredients it called for. Once it was all mixed up I baked it for 40 minutes at 350.


While it was baking, I prepared the pumpkin spice cream cheese icing. (it tastes as good as it sounds!)


Mix them all together in a mixer and whip it until it is nice and fluffy. If you want to give it an extra pumpkin boost, pumpkin puree added would be amazing. I wanted to but there was none to be found that day.
Once the cake is out of the oven and cooled, ice it with the frosting then sprinkle with a little cinnamon for some pizzazz!

Here is the full recipe
1 box carrot cake mix
4 grated large apples, peeled
1 block of cream cheese, softened
3 cups icing sugar
1/2 tsp vanilla
1/2 tsp pumpkin pie spice
1 tbsp pumpkin puree (optional)
cinnamon to sprinkle on top

1. Mix the grated apples with the cake mix. Pour into baking dish.
2. Bake at 350 for around 30-40 minutes or until toothpick comes out clean.
3. Whip the remaining ingredients in a mixer until light and fluffy.
4. Spread the frosting over cooled cake. Sprinkle cinnamon on top.

Be sure to stay tuned for another giveaway coming soon! 

By Mommy Melissa

 photo 3mommiessig_zps86cc38de.jpg

Friday, November 1, 2013

Super Easy Caramel Apples!

Nothing says Fall like fresh apples. And nothing says YUM like dipping those apples in melted, gooey caramel. Every year I make treats to send in for the kids classmates on Halloween, and this year I decided on caramel apples. But I'm a little lot short on time and already had a box to paint to look like a Minecraft zombie head, so I didn't want to make the caramel from scratch (although I do have a very good caramel recipe written down somewhere). This recipe is super simple and virtually fool proof. Here it is!
 
Start with your apples. I had to use 47 of them.

 
After I took this picture, I twisted off every stem and inserted popsicle sticks. After doing about 10 of them I started stabbing them with a knife and then putting the sticks in. Much easier.
 
I'll apologize in advance because I forgot to take any pictures until I was done. I made these at about 2am and really just wanted to go to bed.
 
Now for the caramel. I used 9 180g bags of those individually wrapped chewy caramel squares. 3 bags did 12-15 apples. If you have kids making these with you, get them to unwrap the caramel. It's tedious and boring and I swear they glue those suckers closed.
 
Once you have your 3 bags unwrapped, dump them into a microwave safe bowl, along with 2 tbsp of water. Microwave for one minute; stir. Microwave another minute; stir. Do that one more time, and you should be all melted and ready to go!
 
Now you just swirl away! You could roll in virtually any toppings you want at this point, but I decided to skip it for the sake of getting at least a few hours of sleep. I like sleep. After coating each apple, scrape the bottom with a spoon (a lot of caramel will pool here) and place it on a square of wax paper. I found the paper made it a lot easier to put the apples into cellophane bags.
 
If you are bagging them, do not put them in the fridge! They will weep and we don't want that. Bagged up at room temperature, they should keep about a week depending on the freshness of the apple. Roughly the same time in the fridge, too.
 
There you go! These really couldn't be any easier... or yummier! Enjoy :)