Showing posts with label Tips and Tricks. Show all posts

Sunday, March 2, 2014

Cleaning Bath Toys


Rubber ducks, squirting whales and floating frogs. They all jump in the tub along with your kids to get them all squeaky clean and smelling good. But! What about the bath toys? They are not too clean themselves. Those little critters that we throw into the tub along with our kids have little critters of their own growing inside them! 

We have all been there. Give the kids a bath but forget to go back and squeeze the water out of the bath toys. Then they start to get some nasty mold growing inside of them. The mold can give your kids a rash if not taken care of. Also, its just gross.


Once a month I like to get all the bath toys collected and give them a good wash down.
This cleaning method is not harmful and can be done as often as you like. Its a little time consuming but worth it to keep the little ones clean and fresh.

Now all you need is the bath toys, vinegar, a firm tooth brush, water and the kitchen sink.

  1. Fill the kitchen sink with as hot water as your hands can handle. 
  2. Fill the bath toys that suck water up with the hot water. Cover the hole and shake as hard as you can.
  3. Now squirt all the water out. You may actually see flakes of gross come out.
  4. Repeat a few time over to make sure its clear.
  5. Now fill the sink with vinegar and some water to dilute it a little.
  6. Fill the toys with the vinegar and let it sit for at least an hour.
  7. Now repeat the fill, shake, empty process as with the water. 
  8. Take the tooth brush and scrub the toys making sure to get into all the creases and corners.
  9. Give them a final rinse down with water.
  10. There you have it. That is how I keep my childrens bath toys clean.

See that gross mold that came out a toy?
It was thrown away for being too gross.

A mug can help keep down floating books

All clean and fresh now!


Do you have any tips or tricks that you want to share to help people out? Let us know in the comments or on our Facebook Group.


By Mommy Melissa
 photo 3mommiessig_zps86cc38de.jpg

Wednesday, October 23, 2013

Logan the Little Artist

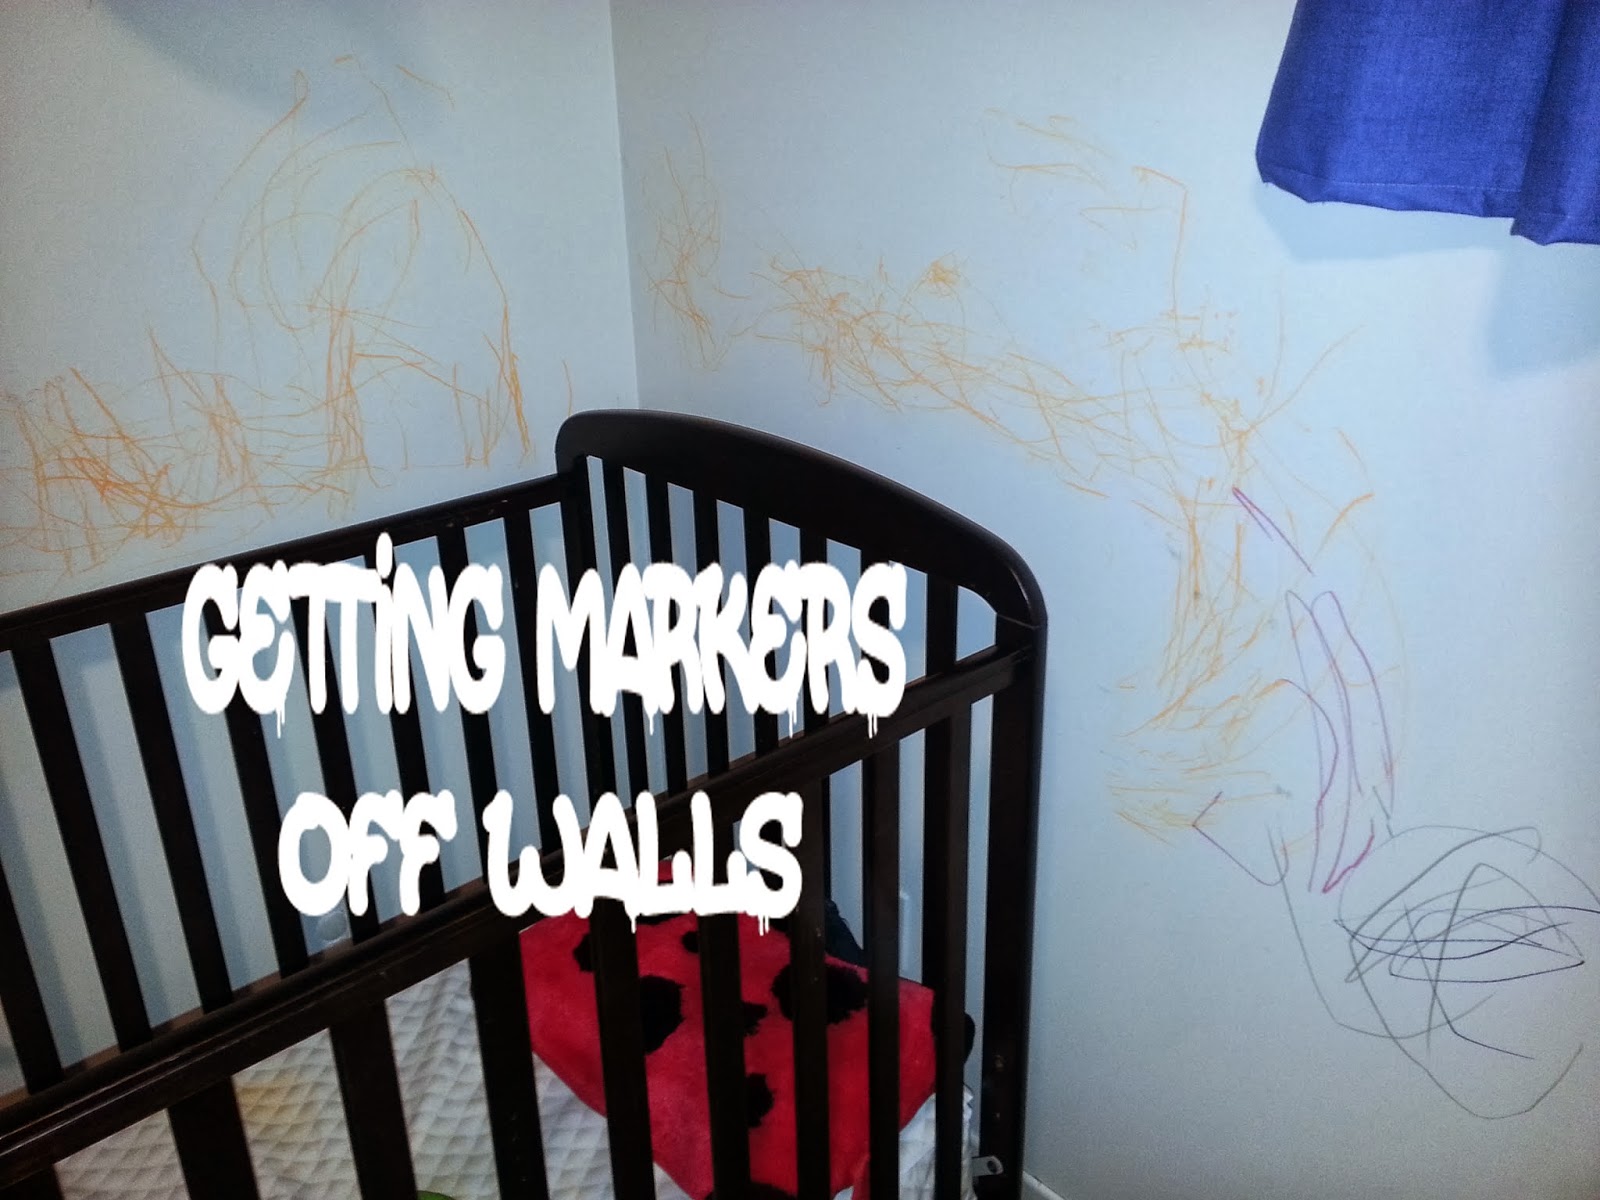
My two year old son is an artist. His favourite medium to work with? Well that would have to be Sharpie markers and white walls! He even dabbled a bit with a gold marker on my counter top!
First of all I would like to say that I have no freaking idea where he found them! I keep them on my book shelf way out of reach. But one morning he hopped out of his crib and started his masterpiece!
After trying to wash it with a dish cloth and dish soap, nothing came off. I asked the great and powerful Google what to do. There were people with all different ideas from nail polish remove, disinfectant wipes, hand sanitizer, alcohol, acetone, and magic eraser.


Nail polish remover, nothing.
Disinfectant wipes, nothing.
Hand sanitizer, nothing.
At this point I was getting worried.
Alcohol, nothing.
Acetone, what the heck is that? Skipped that one!
Magic eraser. I had to go to the store to buy it because I did not have one! But am I glad I did! That thing worked wonders! Took it off no problem! The walls took a bit more effort but in the end it all came off.

Look its all gone!!


The power of the eraser!!

I am just so thankful to have gotten it off the walls! The moral of the story? I need to buy more magic eraser and keep my budding artist away from markers!!

Have your kids done anything like this? Tell us your story, we would love to hear it!

By Mommy Melissa

 photo 3mommiessig_zps86cc38de.jpg


Thursday, October 3, 2013

Learning the Colours of the Rainbow - Guest Post by Annabelle

This post is by my niece Annabelle. She wrote it out for me and now I will share it with you.

This is a fun way to let your kids learn and remember the colours of the rainbow. All you need to do is buy a 6 pack of glow sticks from Dollarama. They have all 6 colours of the rainbow, just not indigo.
Now, ask your kids if they know what colours are in the rainbow. Then teach them the word to remember them is ROY-G-BIV. Red, Orange, Yellow, Green, Blue, Indigo, Violet.
Then put them on your wrist in the right order.
Its really colourful and I love how they glow together. I personally loved it because I learnt the colours by heart.


By Annabelle (10 years old)


Monday, September 9, 2013

The Cleaning Power of Baking Soda

Everyone knows that baking soda is great at keeping refrigerators smelling fresh. But when it comes to cleaning, baking soda is a miracle worker!
James decided one day, he was going to try and make clove oil (lord knows why). He had no clue what he was doing but he saw it on YouTube so it couldn't be that hard... a black pot and a house smelling of burnt cloves later he tells me he might have done it wrong and will have to throw away my pot. I was mad! The pots I use are the best! They were my mom and dads, which they bought many, many years ago. I would not believe it was trash. I WOULD fix it! With a little effort and baking soda.
Check out his handy work!

You can see the burnt coming off

Almost good as new! 
First you will need to collect a sponge and baking soda. Pour a generous amount into the pot and scrub your heart out! It will take some elbow grease but its worth the effort. Give it a good wash down and good as new! Since the clove smell was very prominent, I boiled some water and vinegar in the pot for a few minutes then scrubbed it down again and the smell was gone.

James gets to live another day, thanks to the cleaning power of Baking Soda!

Works great to remove tea stains from mugs too!

by Mommy Melissa

 photo 3mommiessig_zps86cc38de.jpg

Tuesday, July 23, 2013

Nail Art with Temp Tattoos

 Recently I received this great package in the mail filled with all kinds of fun stuff! Paints, coloring books, stickers and temporary tattoos! Looking at all this great stuff I started thinking, what is something else I can do with these fun things... really using the imagination and experimenting got me thinking, if tattoos work on your skin- why not try it on your nails! How excited I was to try it out... I ran into my sisters room to show her what a genius I am but of course she was already aware of the trick. Oh well, maybe there's others out there I can please.

Here's how it works:


Make sure to put a top coat of clear polish when your done so the image stays, and it gives a great shine!

I invite you all to give it a try, I'd love to see your designs, just post a link so we can check it out! :)

POST BY MOMMY OLIVIA